


- 1. The significance of giving cats proper ear care
- 2. Understanding the Anatomy of a Cat’s Ear
- 3. Gathering the Necessary Supplies for Ear Cleaning
- 4. Step 1: Preparing Your Cat for the Cleaning Process
- 5. Step 2: Examining the Ears for Infection or Irritation Symptoms
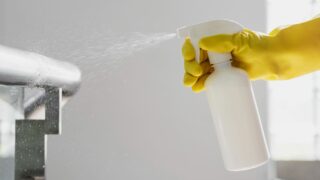
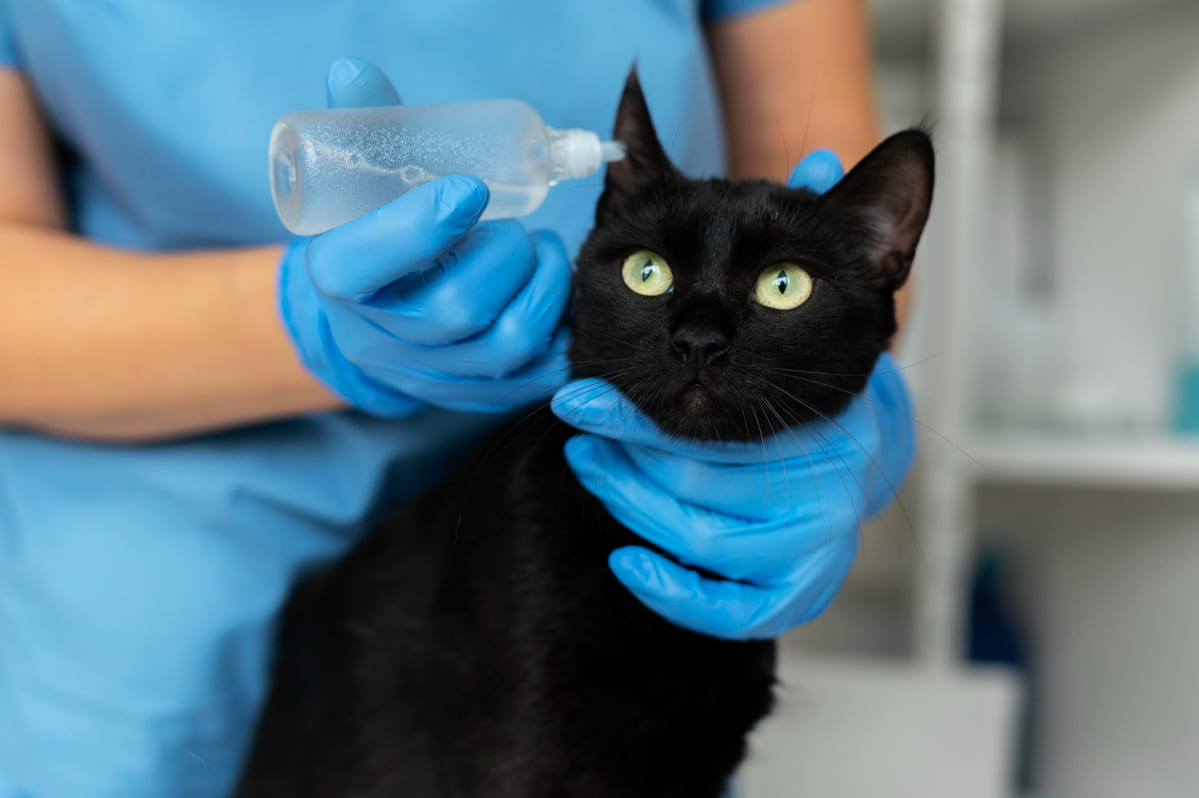
- 6. Step 3: Applying the Ear Cleaning Solution
- 7. Step 4: Massaging and Wiping the Ears Clean
- 8. Further Advice and Safety Measures for Safe Ear Cleaning
- FAQ
1. The significance of giving cats proper ear care
Ensuring the cleanliness and healthiness of your cat’s ears is pivotal for their overall well-being. As curious creatures, cats are prone to developing wax buildup, debris, or even ear mites, which can lead to discomfort and potential infections. Regular ear care not only prevents these issues but also allows early detection of any underlying problems. To maintain proper ear hygiene, gently lift your cat’s ears and inspect them for redness, swelling, or unusual odor. Use a veterinarian-approved ear cleaning solution and a cotton ball to wipe away any dirt or excess wax carefully. Avoid using Q-tips as they can push debris deeper into the ear canal, causing harm. Remember to make this a positive experience for your cat by rewarding them with treats or playtime afterward.
2. Understanding the Anatomy of a Cat’s Ear
2.1 External Ear Structure
The external part of a cat’s ear is what you see on the outside. Nature has delicately crafted it, resembling a beautiful work of art. You’ll notice a triangular-shaped ear flap, known as the pinna, which comes in various sizes, shapes, and colors .
The pinna is swathed in soft fur, inviting you to cuddle up and slumber. Nevertheless, this fluffy utopia can also draw dirt, trash, and even tiny animals that have settled there. That’s why regular cleaning is necessary to keep those cat ears as fresh as a daisy!
2.2 Internal Ear Structure
Now, let’s take a peek inside those ears. Deep within lies the ear canal, a mysterious tunnel that leads to the eardrum. It’s here that earwax and other substances can build up, potentially causing your furry pal some serious discomfort.
Cats possess the unique ability to expertly clean themselves, unlike humans. They have microscopic hairs in their ears that help move unwanted particles out. Occasionally, the dirt and grime surpass the diligent kitty’s efforts. That’s where you step in as their personal ear-cleaning assistant!
3. Gathering the Necessary Supplies for Ear Cleaning
Now that we’re all ear anatomy aficionados, let’s assemble the tools we need to make this cleaning mission a success. Prepare the following:
- Cat friendly ear cleaner (available at your pet store or vet)
- Cotton wool or gauze pad – A towel or two (because, please face it, things can get a little messy)
- Snacks or a favorite toy to reward your cat for cooperating.
4. Step 1: Preparing Your Cat for the Cleaning Process
Before we dive into the ear-cleaning extravaganza, let’s ensure our cat is relaxed and ready for the experience. This will help prevent any catastrophes along the way.
4.1 Choosing the Right Time and Environment
Find a quiet and comfortable space where you and your cat can focus without distractions. For clear vision while working, make sure the space is well-lit.
Another crucial factor is timing. Pick a moment when your cat is relaxed and not in the middle of an important nap or play session. Trying to clean your cat’s ears while they’re in “zoomie” mode is like trying to text while riding a unicycle—it’s just asking for trouble.
4.2 Calming Techniques for Your Cat
Some cats may find the ear-cleaning process a little nerve-wracking, so it’s important to make them feel safe and calm. Give them some gentle strokes and soothing words to let them know everything will be okay. And don’t forget the treats or a favorite toy to sweeten the deal!
Alright, folks, we’ve laid the groundwork for a successful ear-cleaning operation. Next up, we’ll tackle the actual cleaning process and become ear-wax warriors alongside our feline companions.
5. Step 2: Examining the Ears for Infection or Irritation Symptoms
5.1 Common Signs of Ear Problems
It is crucial to be vigilant about potential problems when it concerns your cat’s ears. Cats may exhibit common symptoms such as scratching excessively, shaking their heads, experiencing redness and swelling, having discharge, or emitting a foul odor from their ears when they have ear problems. If you notice any of these signs, it’s time to give those ears some TLC.
5.2 Identifying Red Flags
While a little ear scratching is normal, there are certain red flags that should raise concerns. Opting for veterinary assistance is highly advised in case your cat experiences intense pain in their ears, significant discharge or observes any open sores or bleeding.
6. Step 3: Applying the Ear Cleaning Solution
6.1 Selecting a Safe and Effective Ear Cleaning Solution
After examining your cats ears and concluding that they only require a small maintenance, it is time to select an appropriate solution for cleaning them. Look for a product specifically formulated for cats, as human earwax removal potions won’t do the trick. Avoid using any harsh chemicals or alcohol-based solutions, as they can irritate your cat’s delicate ears. When in doubt, consult with your veterinarian to ensure you’re using the right product.
6.2 Proper Technique for Applying the Solution
You’ve got the right solution in hand, so let’s get to it! Gently hold your cat’s ear flap and lift it slightly, creating a nice straight pathway into the ear canal. Carefully follow the instructions on the ear cleaning solution, and don’t be shy about asking a friend for an extra hand if needed.
7. Step 4: Massaging and Wiping the Ears Clean
7.1 Gentle Massage to Promote Circulation
Once the ear cleaning solution is positioned, tenderly rub the foundation of your felines ear for roughly 20 seconds. Think of it as a soothing kitty massage session, helping the solution break up any debris inside the ear canal. In addition, it grants your adorable pet the perfect reason to revel in a little pampering (and maybe even enjoy some extra goodies afterwards).
7.2 Using Cotton Balls or Gauze to Wipe the Ears
Massage the base of your cats ear delicately for approximately 20 seconds, now that the ear cleaning solution has been applied. Be gentle as you wipe the visible areas of the ear canal, avoiding any deep or forceful movements. Remember, your cat’s comfort is key, so go at their pace and stop if they seem uncomfortable or distressed.
8. Further Advice and Safety Measures for Safe Ear Cleaning
During the feline ear cleaning, it is important to remember these additional tidbits :
- Maintaining dry ears: Moisture is a common cause of ear infections, hence make sure to thoroughly dry your felines ears after cleaning them. It ought to work with a soft towel or cotton ball.
- Refrain from digging: Despite your desire, refrain from using cotton swabs or any other sharp instruments to probe your cat’s ears. These might hurt your animal friend and harm their delicate ear canal.
- If required, get expert assistance: Speak to your veterinarian if you have any questions or if your cat’s ears don’t get better after cleaning them. They are qualified to identify and address any underlying problems.
It’s crucial to approach cleaning your cat’s ears with care and patience because it’s an integral element of their general grooming routine. Your feline friend’s ears will be impeccably clean with a little tender care, patience, and quality time.In conclusion, preserving your cat’s general health and wellbeing requires routine ear care. Always consult your veterinarian if you observe any indications of recurring ear issues and keep in mind to be gentle, patient, and mindful throughout the procedure. You can make sure your cat has healthy ears so they may continue to gain comfortable and clear hearing.
FAQ
1. How often should I clean my cat’s ears?
Theres no need to stress about overly frequent cleaning of your cats ears!
Cats are pretty good at keeping themselves clean. Even so, it remains vital to monitor their ears and show them some tender loving care occasionally.Watch for signs of dirt build-up, excessive earwax, or foul odors emanating from their ears. Once you realize any of these troubles, it may be an indication that a soft cleaning is required. Your cats needs will dictate whether you have to deal with this task every few weeks or occasionally just once a month. You should consult with your veterinarian before designing the best cleaning routine for your furry friend. Remember to use specially formulated cat ear cleaners and not regular household products that can be harmful to their sensitive ears. Most importantly, approach the cleaning process calmly and make it a positive experience for you and your feline friend!
2. Can I use regular cleaning products or solutions on my cat’s ears?
No, It is necessary to employ a specifically crafted solution for cleaning cat ears, ensuring it is safe and gentle for your beloved feline companion. Regular cleaning products or solutions can irritate the delicate tissues of their ears and potentially cause harm or discomfort.
Some of the recommended ear cleaners for cats are as follows.
- Virbac Epi-Otic Advanced: An ear cleaner that contains ingredients that remove dirt and bacteria from the ear and enhance the skin’s barrier function. You wipe it with a cotton ball soaked in the visible area of the ear.
- Nolvasan Otic: An ear cleaner that has the effect of lifting and removing earwax and old sebum. You drop a few drops into the ear and massage the base of the ear before wiping it with a cotton ball. Please make sure that there are no holes in the eardrum at the veterinarian.
- ZYMOX Ear Cleanser: An ear cleaner that contains enzymes that break down and remove bacteria and fungi from the ear. You drop it into the ear and wait a few minutes before wiping it with a cotton ball.
3. My cat is showing signs of discomfort during the ear cleaning process. What should I do?
When your pet starts showing signs of discomfort during ear cleaning, its crucial to handle the situation with patience and caution. Firstly, double-check that you are using an appropriate ear cleaning solution and gently warming it to room temperature before application. Next, ensure that you’re using a soft cotton ball or pad for cleaning instead of a Q-tip which could accidentally damage their delicate ear canal. Take it slow and allow breaks if needed; never force your cat to endure the entire process in one go. If their discomfort persists, it might be wise to consult with a veterinarian for further guidance. Remember, earning their trust through positive reinforcement and offering treats during and after the process can go a long way in making them feel more comfortable.
4. Can you identify the indications of a feline ear infection?
In essence, if your beloved feline companion is facing an ear infection, there are specific indications to be wary of. First off, you might notice them scratching at their ears excessively or even shaking their head more than usual. They could also develop a funky odor coming from their ears, kind of like a yeasty smell. Keep an eye out for any discharge too – if you see brown or black gunk in their ears, that’s a definite red flag. Another sign is if your kitty becomes extra sensitive around the ears and starts wincing when they’re touched. Furthermore, swelling or redness may be observed either internally or externally on their ears. When encountering any of these indications, its crucial to promptly schedule a vet appointment for your furry friend!